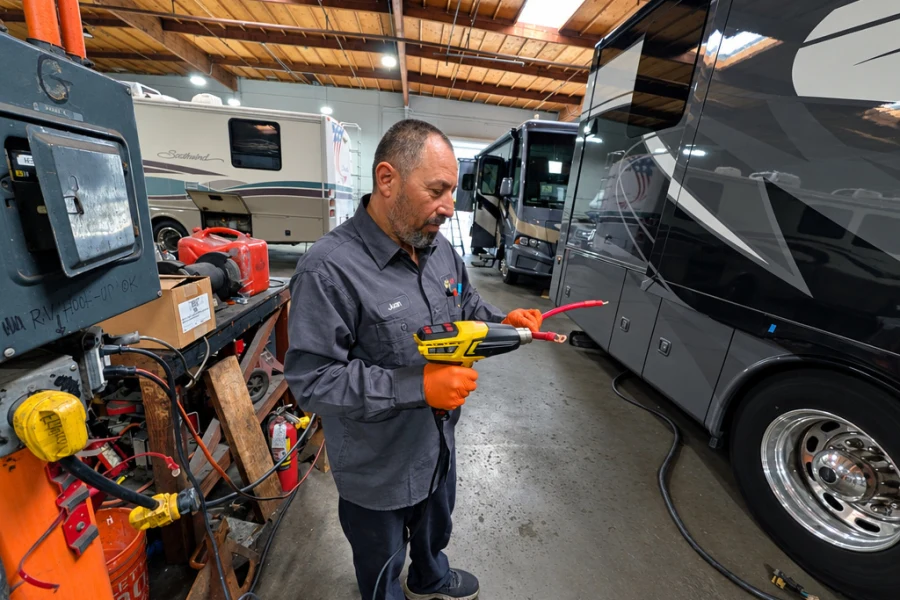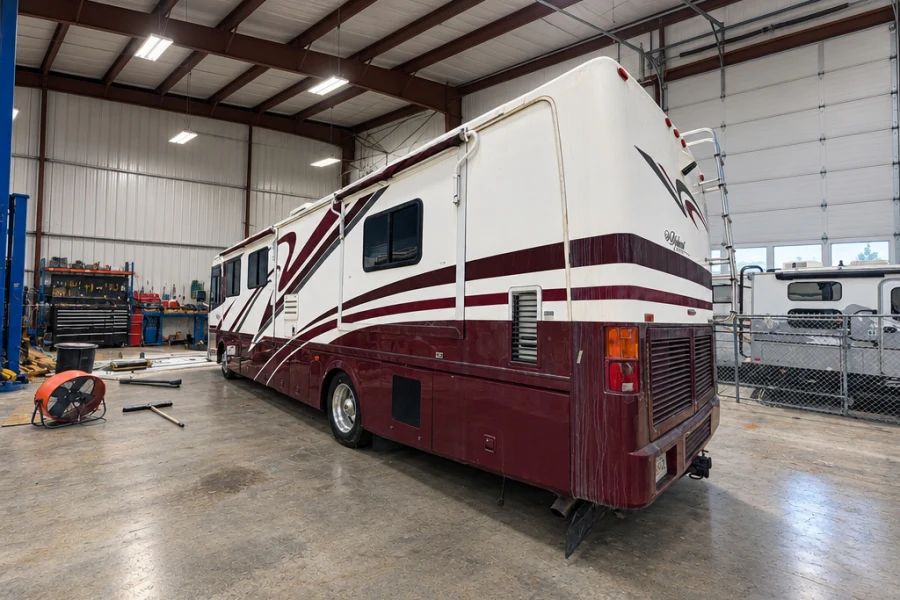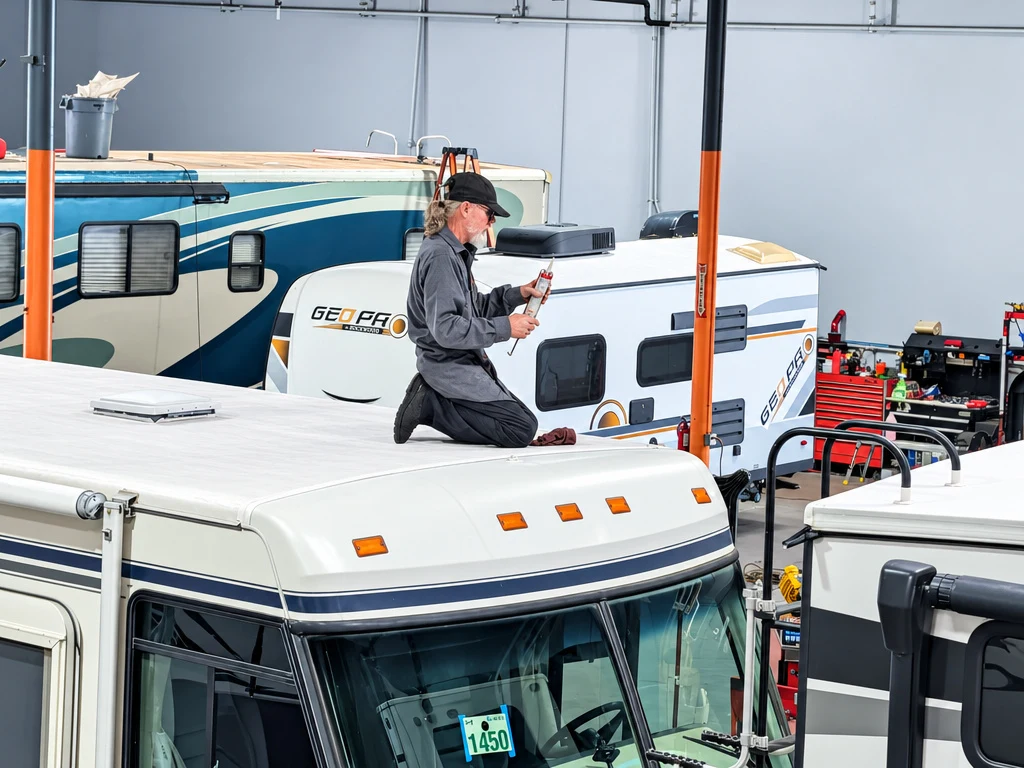
The hardest part of fixing an RV leak is finding it. Water enters in one place, travels along the roof deck or inside a wall, and shows up somewhere else entirely. This is the step-by-step approach we use to trace a leak to its source.
Step 1: Map the symptoms
Note exactly where the water, stain or soft spot appears, and when — after rain, after washing, while driving or when a slide is out. The pattern points to the likely sources.
Step 2: Inspect above and around
- Roof seams, edges and end caps
- Vents, skylights, antennas and A/C gaskets
- Window frames and door seals
- Slide-out seals, wipers and toppers
- Clearance lights and ladder mounts — every screw is a potential entry point
Step 3: Check the plumbing
Not every leak is from outside. Supply lines, the water pump, the water heater, faucets and the toilet base can all leak inside walls and floors.
Step 4: Test
Water testing a suspected area — working from the bottom up — confirms the entry point without guessing. Moisture meters help map how far water has traveled.
Step 5: Repair the source and the damage
Seal or replace the failed component, then repair what the water damaged: decking, wall panels, insulation or delaminated sidewalls. See RV roof repair.
Frequently asked questions
Why does my RV leak only sometimes?
Some leaks only open when the body flexes on the road, when it rains from a certain direction, or when a slide is out.
Can a leak be far from the stain?
Yes. Water often travels along the roof deck or inside a wall before it shows.
Do you repair the water damage too?
Yes — decking, wall panels, insulation and delamination.
Need help with this? See our RV roof repair and replacement service, call (949) 830-1996, or request an appointment. Appointments are available Monday through Friday, and Saturday appointments begin January 1, 2027.

Have a question about your RV?
Our service advisors answer the phone — and we put the estimate in writing before any work.